How to Remove a Kitchen Sink Drain
Loosen the coupling nut that connects the strainer to the drain pipe.. Stabilize a spinning strainer in order to remove a stubborn nut.. Determine the type of sink strainer you have.
Steps
Loosen the coupling nut that connects the strainer to the drain pipe.
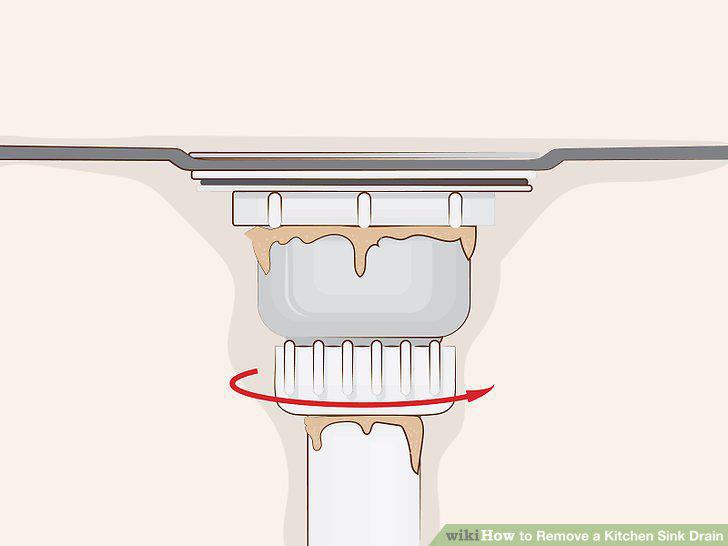
Loosen the coupling nut that connects the strainer to the drain pipe.
Stabilize a spinning strainer in order to remove a stubborn nut.
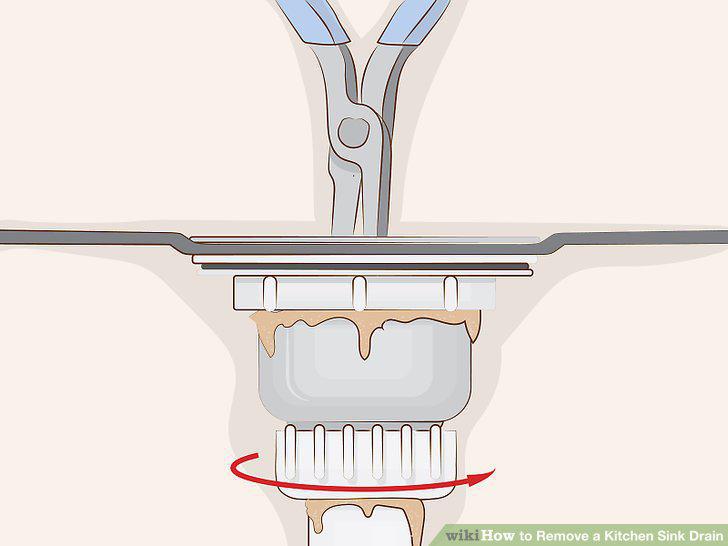
Stabilize a spinning strainer in order to remove a stubborn nut.
Determine the type of sink strainer you have.
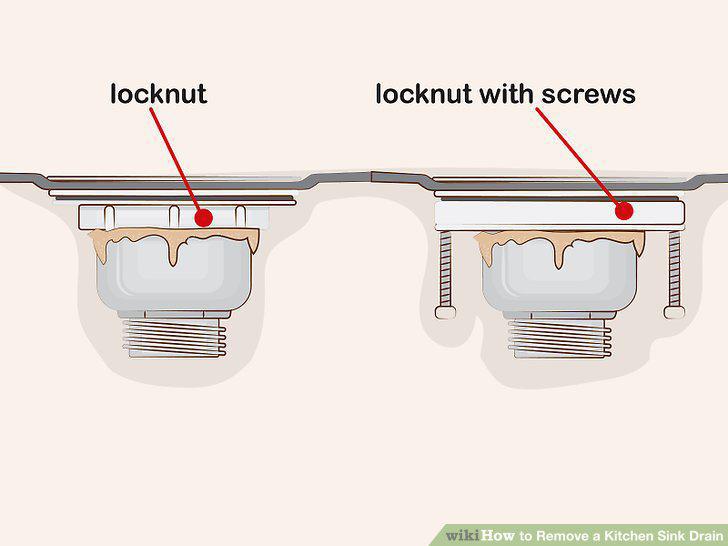
Determine the type of sink strainer you have.
Remove the screws in the locknut if your strainer has them.
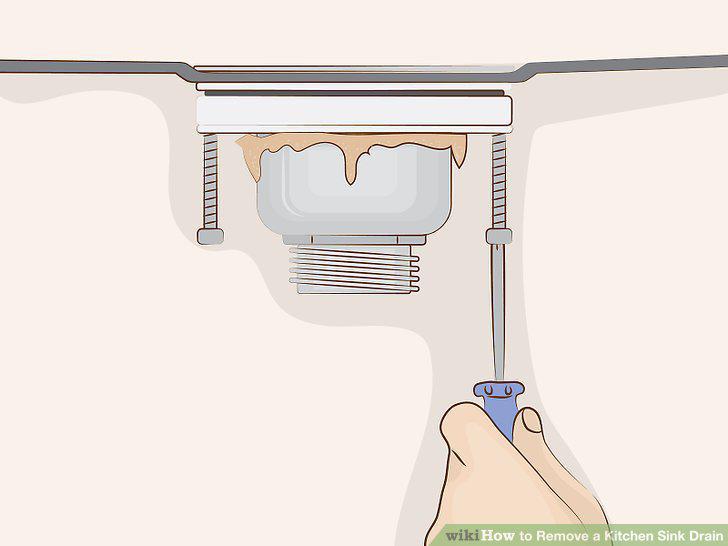
Remove the screws in the locknut if your strainer has them.
Use a wide-mouthed wrench to loosen a traditional locknut strainer.
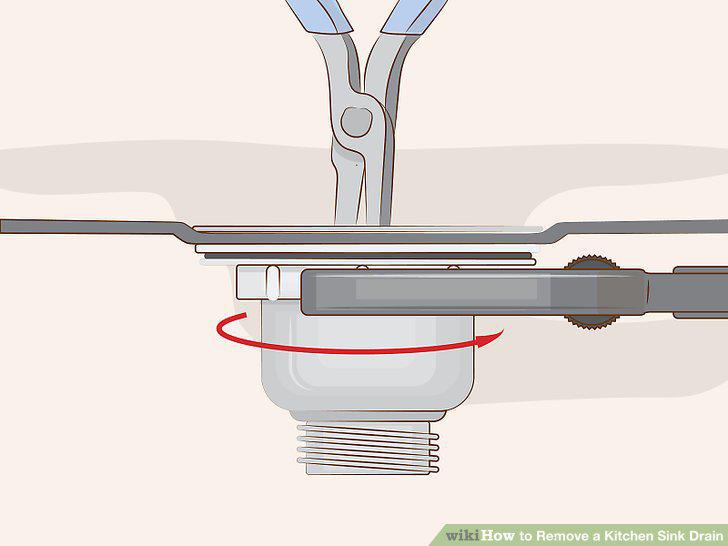
Use a wide-mouthed wrench to loosen a traditional locknut strainer.
Loosen and remove the nut at the bottom of a bell washer strainer.
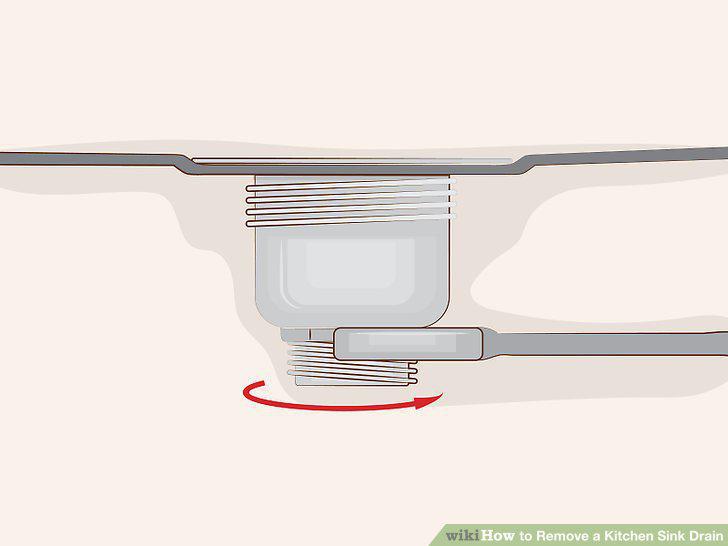
Loosen and remove the nut at the bottom of a bell washer strainer.
Wiggle the sink strainer loose and push it up and out of the sink.
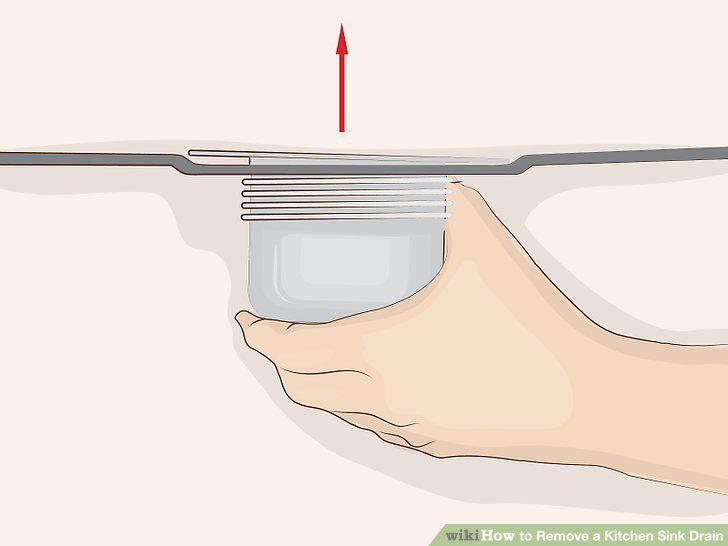
Wiggle the sink strainer loose and push it up and out of the sink.
Roll out a ring of plumber's putty and place it around the sink opening.
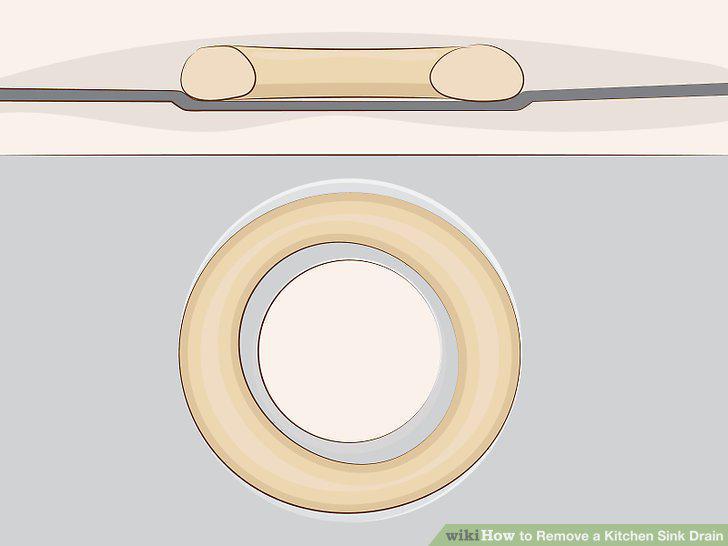
Roll out a ring of plumber's putty and place it around the sink opening.
Press the new sink strainer firmly down into the putty ring.
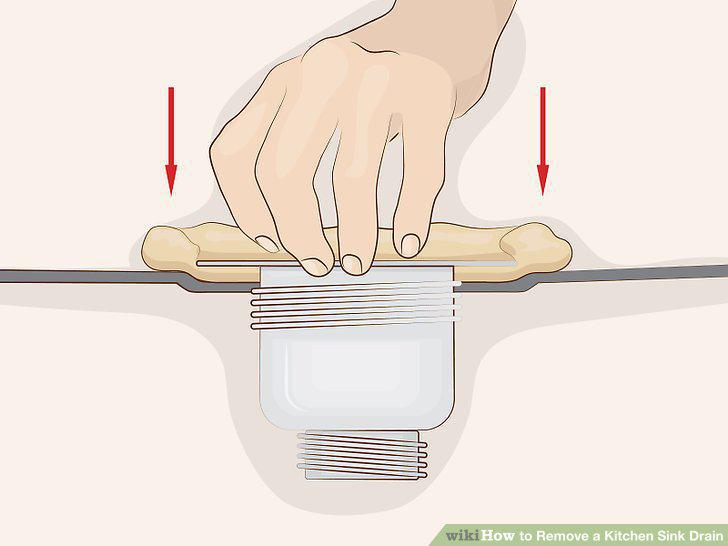
Press the new sink strainer firmly down into the putty ring.
Place any included washers and gaskets between the underside of the sink and the
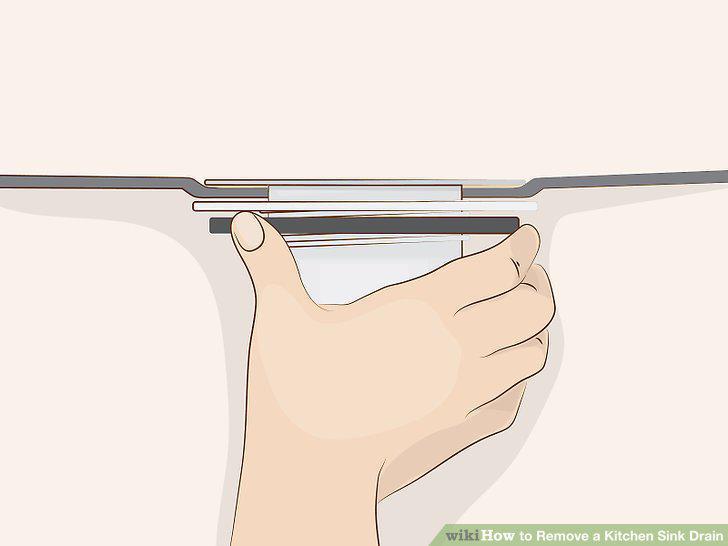
Place any included washers and gaskets between the underside of the sink and the locknut or bell housing.
Secure the sink strainer into place from below.
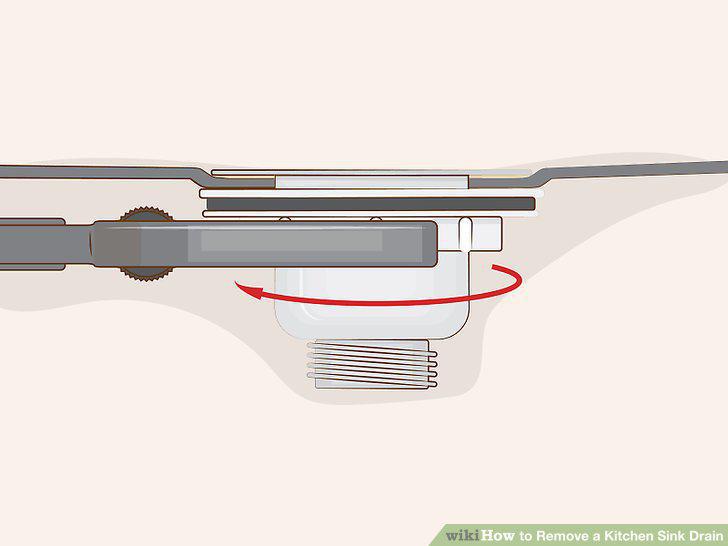
Secure the sink strainer into place from below.
Connect the drain pipe to the sink strainer.
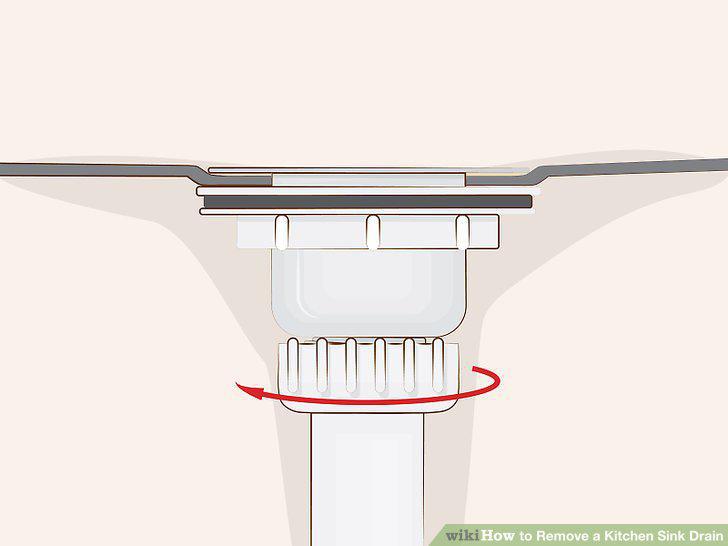
Connect the drain pipe to the sink strainer.
Test for leaks.
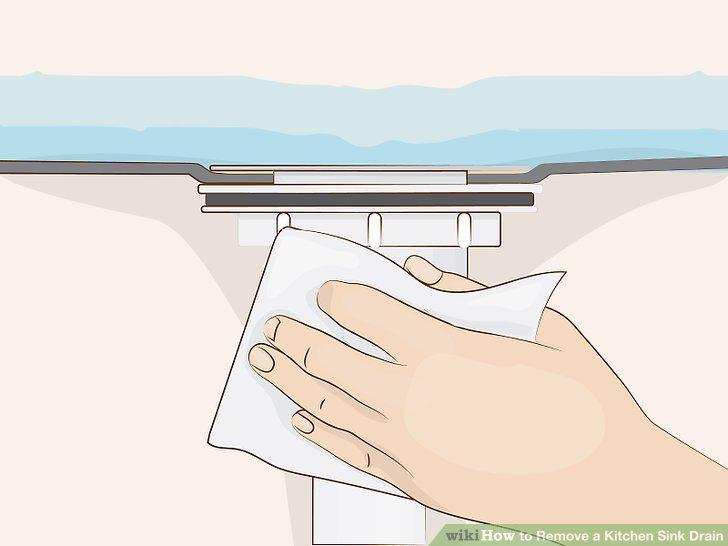
Test for leaks.
Comments (0)
No comments yet. Be the first to share your thoughts!