How to Add Images in Android Studio
Launch Android Studio.. Select Start a new Android Studio project.. Click on the name of the project on the far left-hand side of the window.
Steps
1
Launch Android Studio.
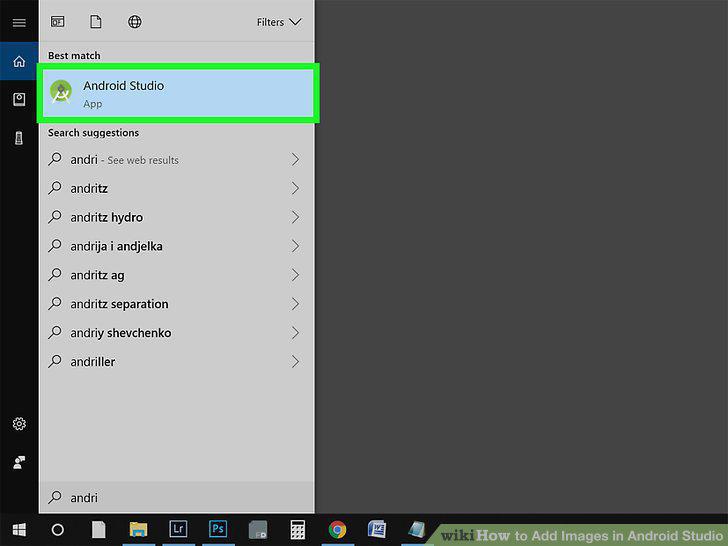
Launch Android Studio.
2
Select Start a new Android Studio project.
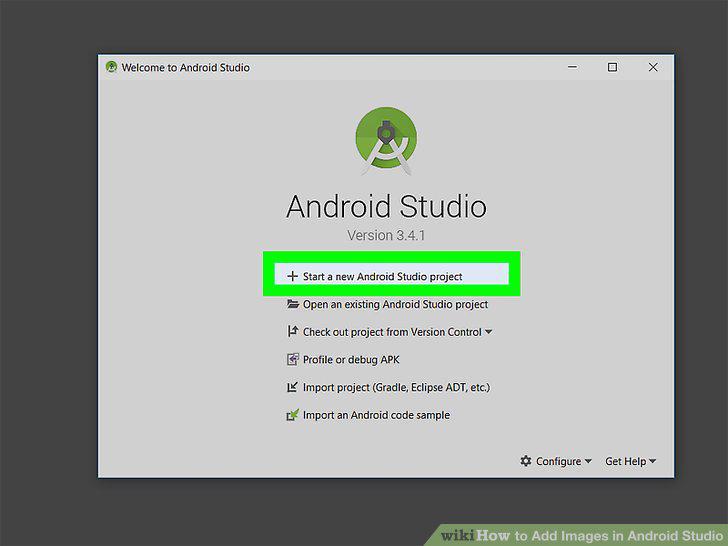
Select Start a new Android Studio project.
3
Click on the name of the project on the far left-hand side of the window.
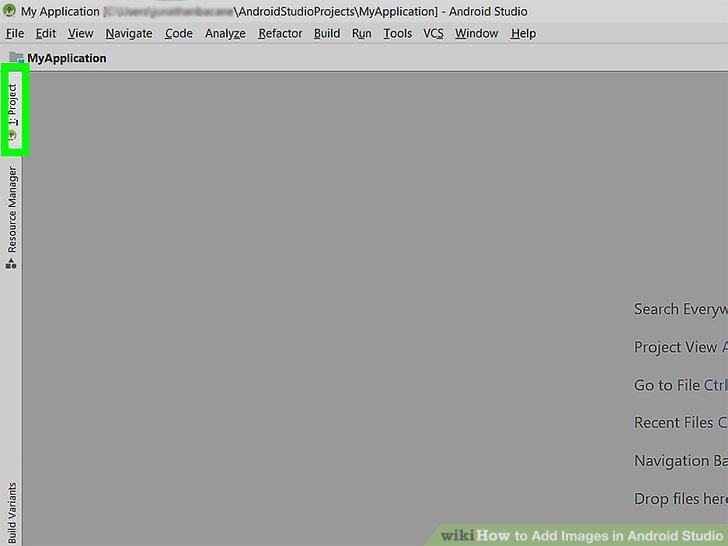
Click on the name of the project on the far left-hand side of the window.
4
Select the arrow next to the project name and select Android.
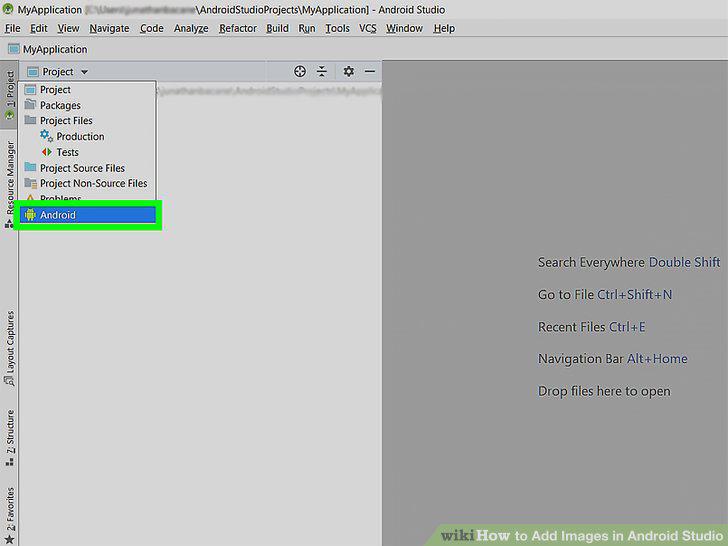
Select the arrow next to the project name and select Android.
5
Expand the drop-down menu arrow next to App.
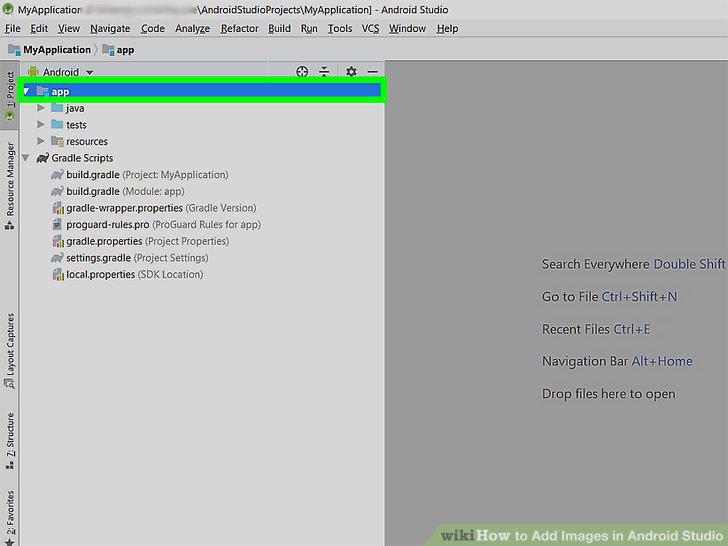
Expand the drop-down menu arrow next to App.
6
Expand the drop-down menu arrow next to res.
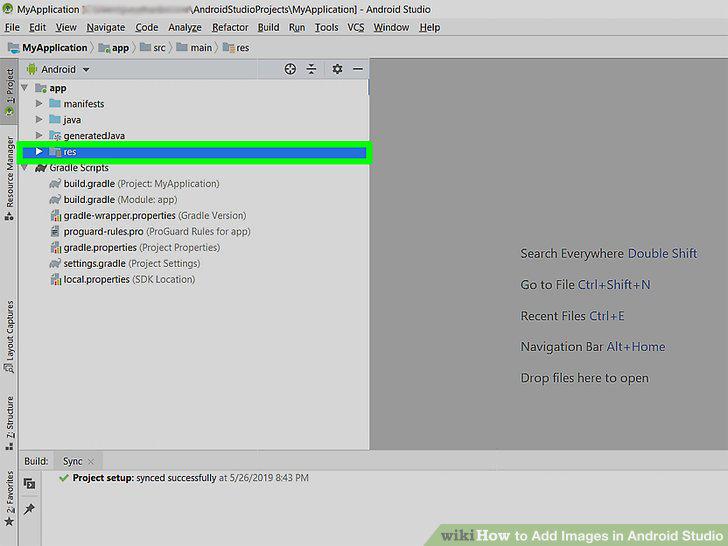
Expand the drop-down menu arrow next to res.
7
Click on the drawable folder.
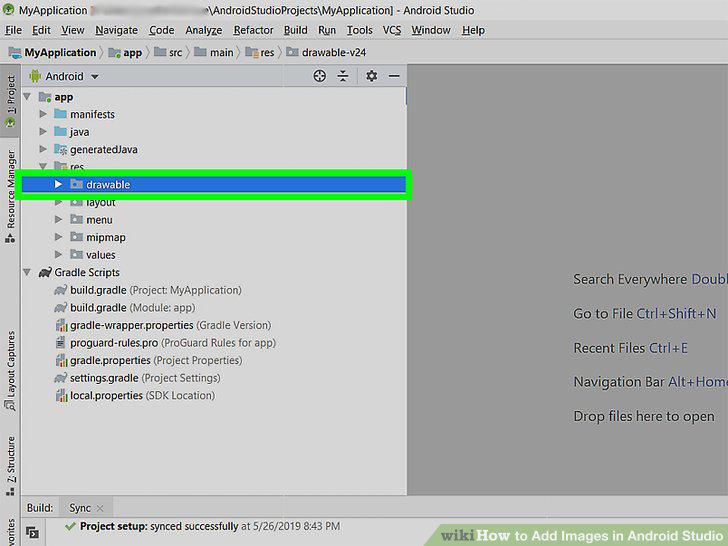
Click on the drawable folder.
8
Drag the image file to the drawable folder in Android Studio.
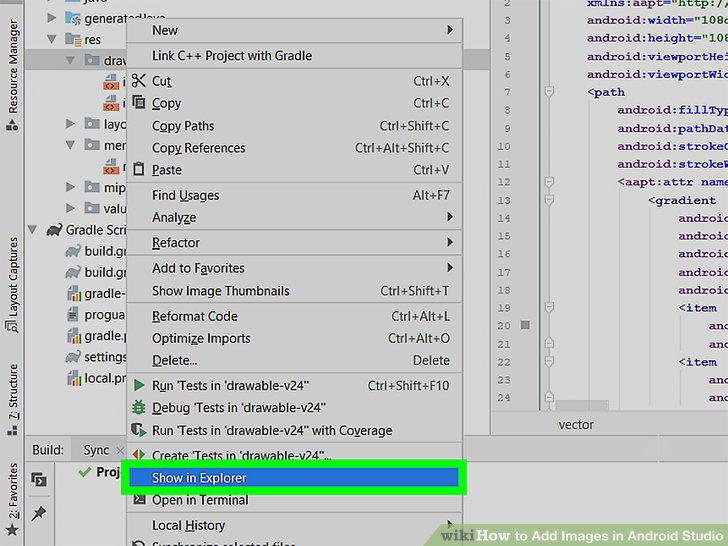
Drag the image file to the drawable folder in Android Studio.
9
Select OK in the pop-up window.
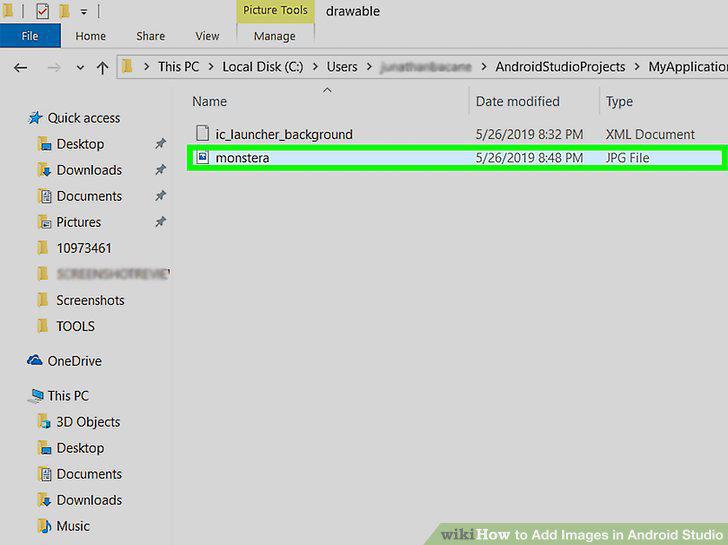
Select OK in the pop-up window.
10
Double-click the image name under drawable.
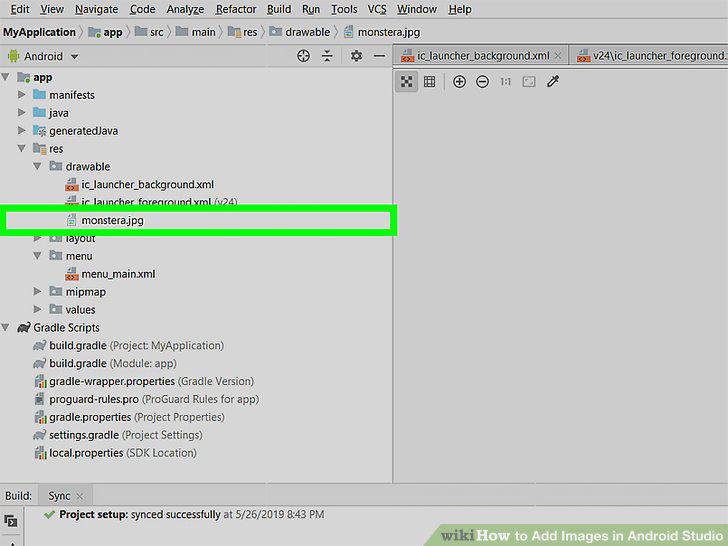
Double-click the image name under drawable.
Comments (0)
No comments yet. Be the first to share your thoughts!