How to Clean Epson Printer Nozzles
Make sure the printer is turned on and the ink light is off.. Load at least 10 sheets of plain paper into the printer.. Open the printer properties menu from the control panel.
Steps
Make sure the printer is turned on and the ink light is off.
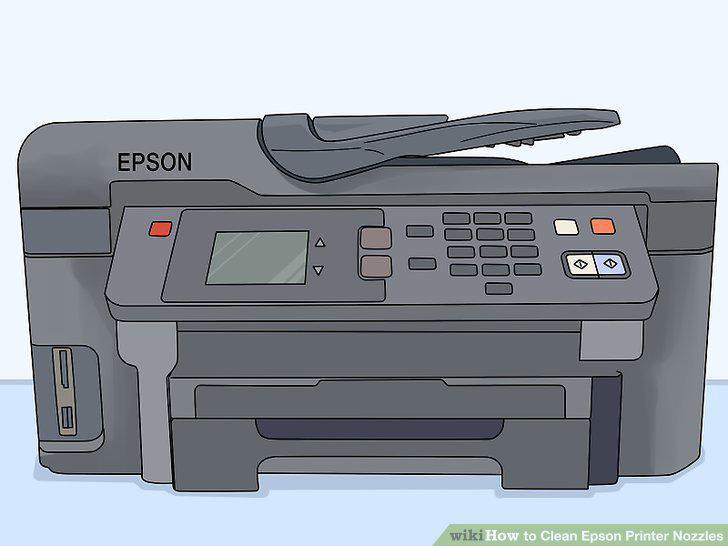
Make sure the printer is turned on and the ink light is off.
Load at least 10 sheets of plain paper into the printer.
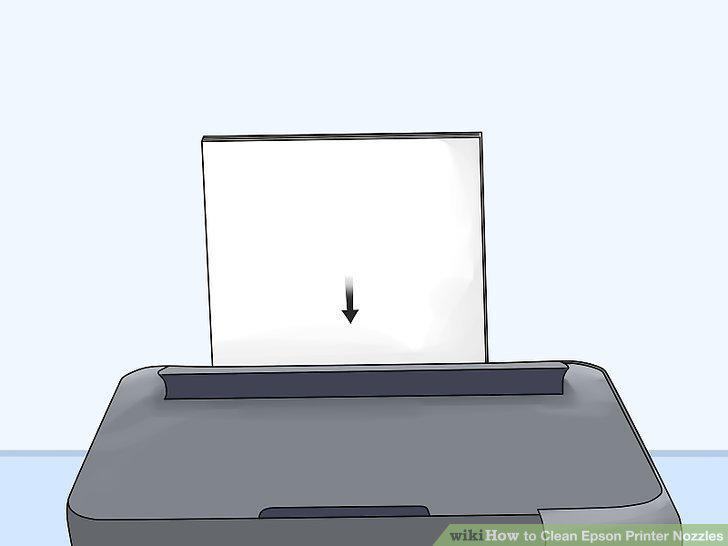
Load at least 10 sheets of plain paper into the printer.
Open the printer properties menu from the control panel.
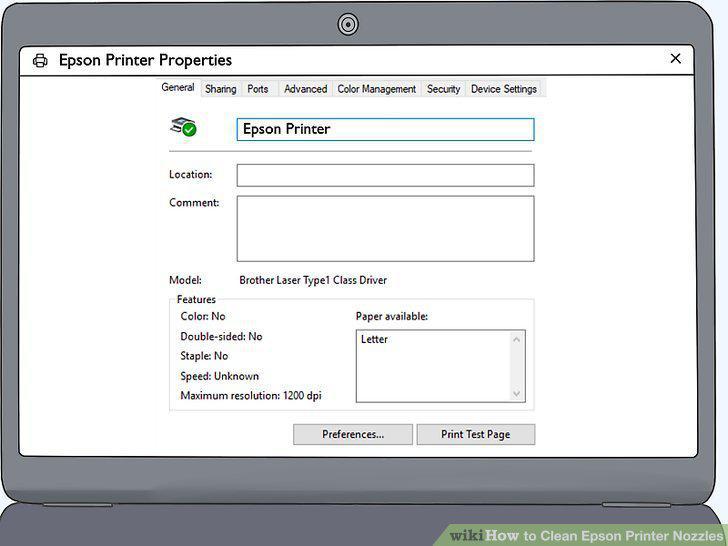
Open the printer properties menu from the control panel.
Print a nozzle check test pattern and review it for gaps or blurriness.
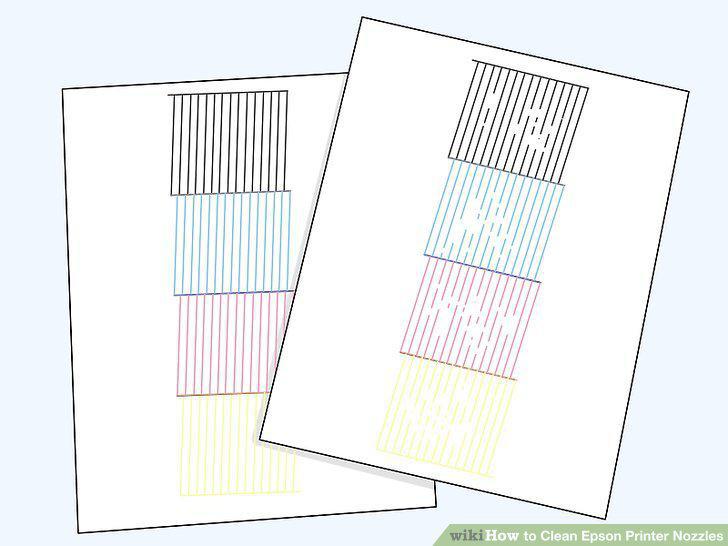
Print a nozzle check test pattern and review it for gaps or blurriness.
Open the printer properties menu and select the utility tab.
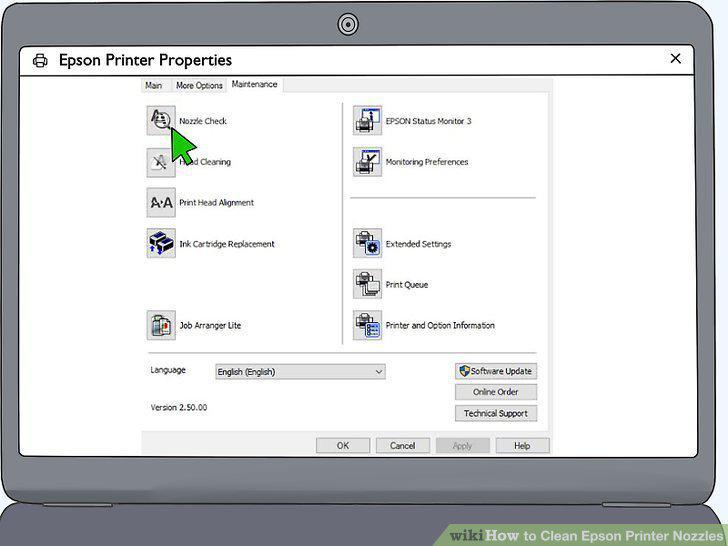
Open the printer properties menu and select the utility tab.
Click the Head Cleaning option to run a cleaning cycle.
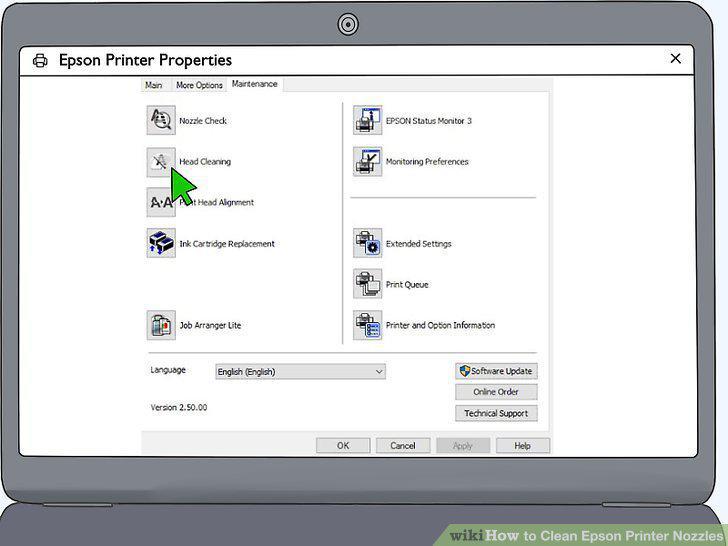
Click the Head Cleaning option to run a cleaning cycle.
Print a nozzle check test pattern when the power light stops flashing.
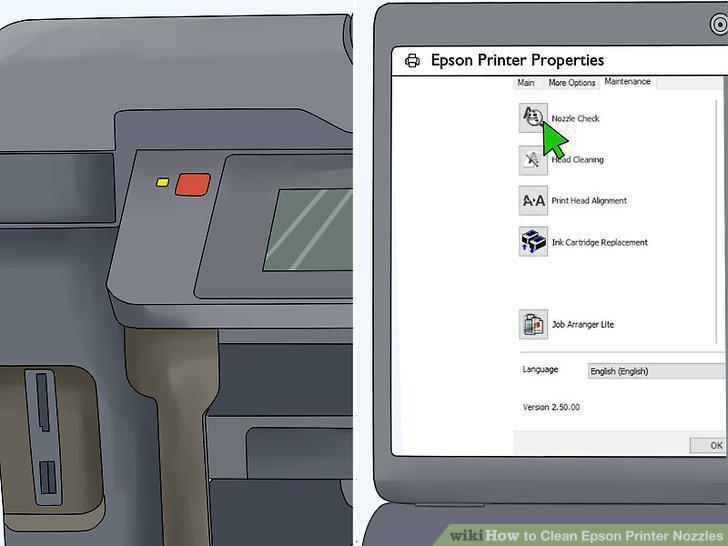
Print a nozzle check test pattern when the power light stops flashing.
Review the test pattern and run another cleaning cycle if necessary.
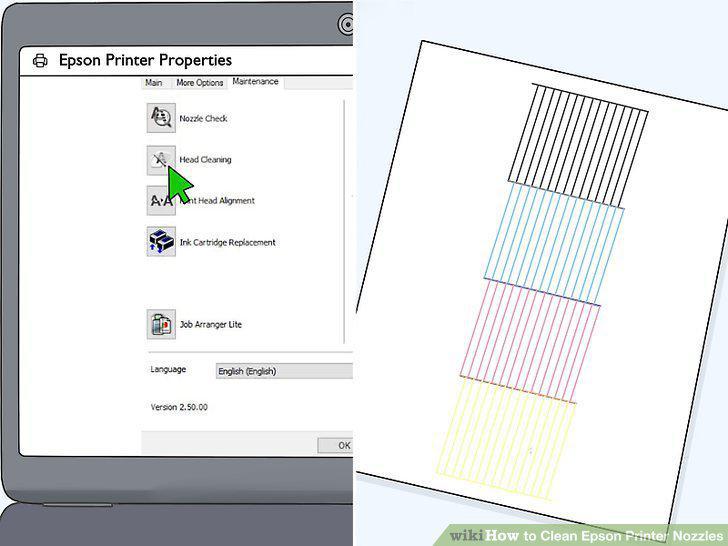
Review the test pattern and run another cleaning cycle if necessary.
Unplug the power cable while a piece of paper is being printed.
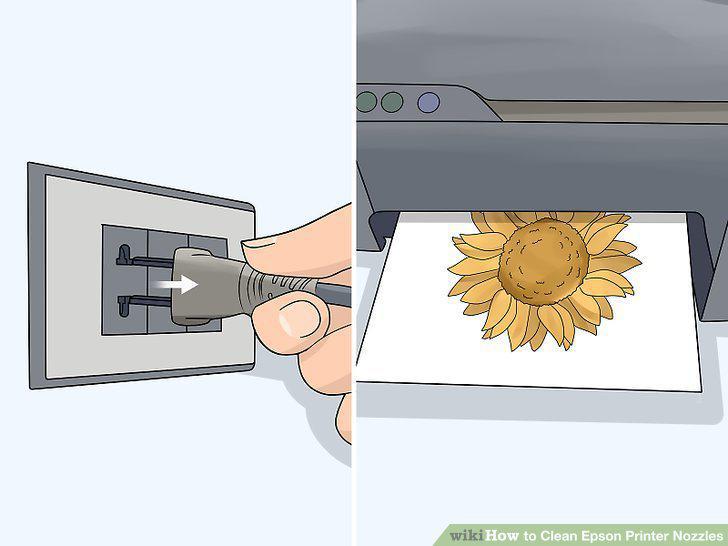
Unplug the power cable while a piece of paper is being printed.
Open the top of the printer and slide the print head to the center.
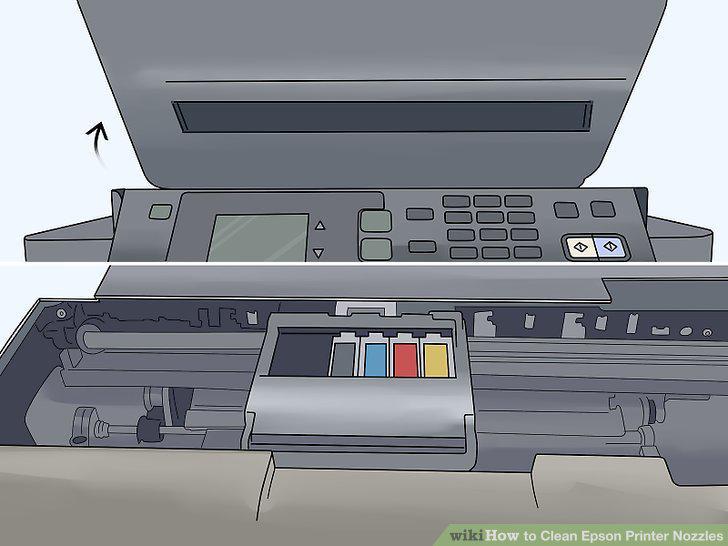
Open the top of the printer and slide the print head to the center.
Remove the ink cartridges and place blotting paper beneath the print head.
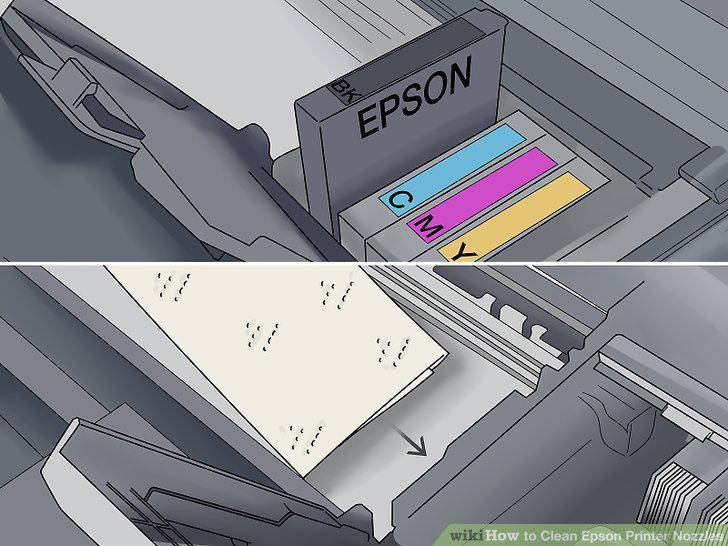
Remove the ink cartridges and place blotting paper beneath the print head.
Fit a 1 inch (2.5 cm) silicone tube onto a 10 cc syringe.
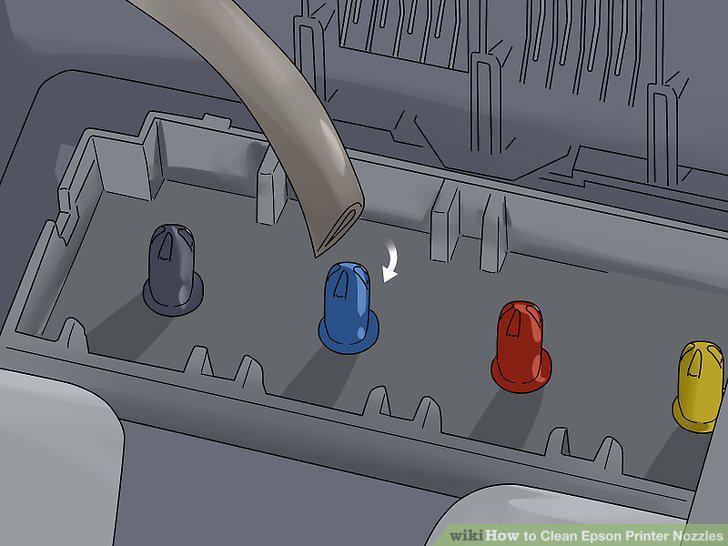
Fit a 1 inch (2.5 cm) silicone tube onto a 10 cc syringe.
Fill the syringe with isopropylic alcohol and connect it to the print head.
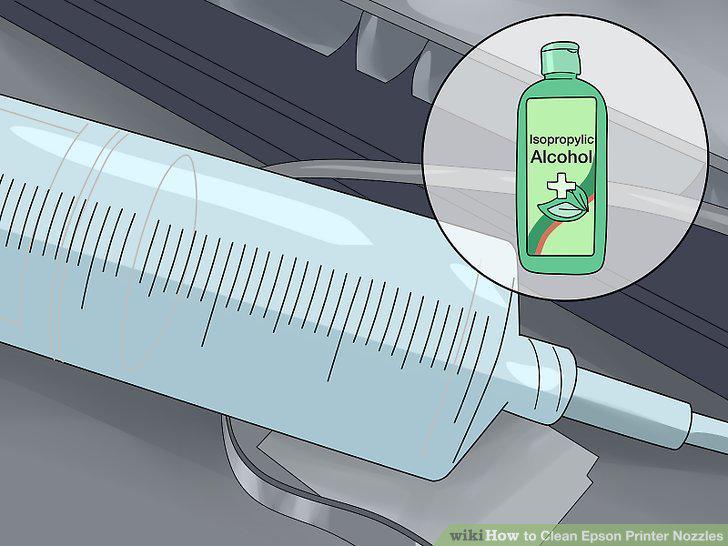
Fill the syringe with isopropylic alcohol and connect it to the print head.
Push the plunger on the syringe to flush the printer nozzle.
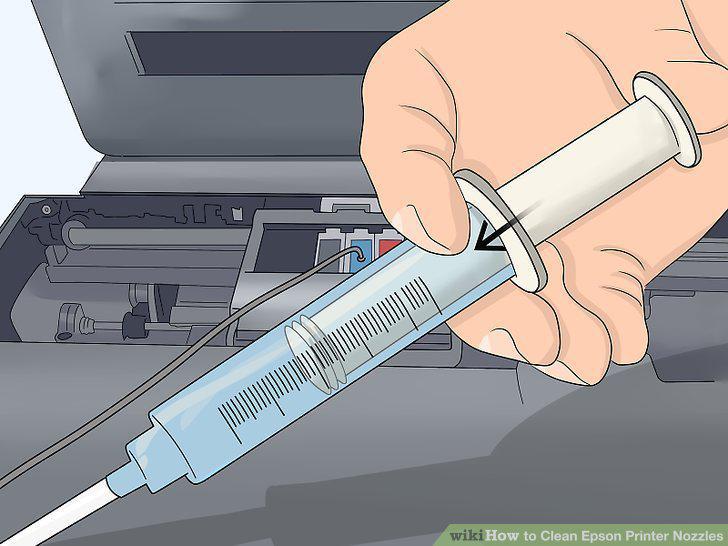
Push the plunger on the syringe to flush the printer nozzle.
Remove and refill the syringe and connect it to another nozzle to flush it.
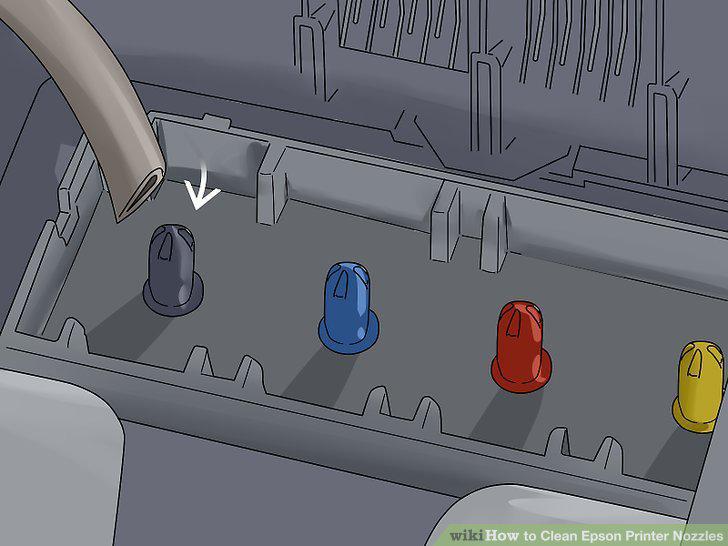
Remove and refill the syringe and connect it to another nozzle to flush it.
Slide the print head to the right and remove the blotting paper.
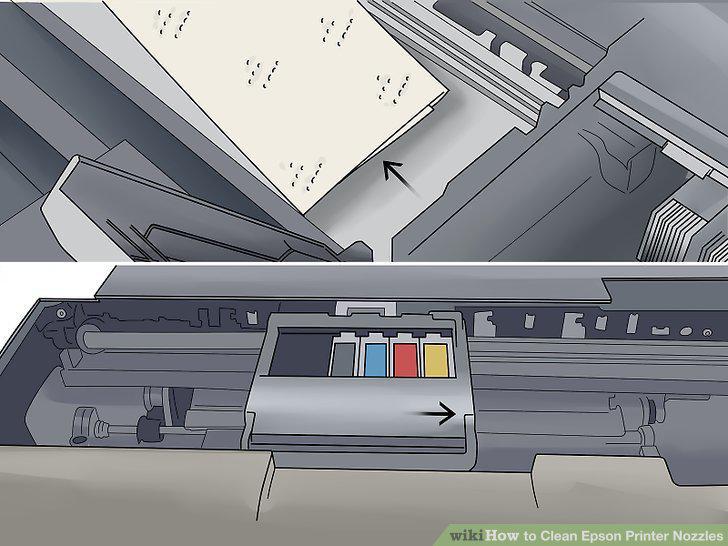
Slide the print head to the right and remove the blotting paper.
Replace the ink cartridges and turn the printer back on to test it.
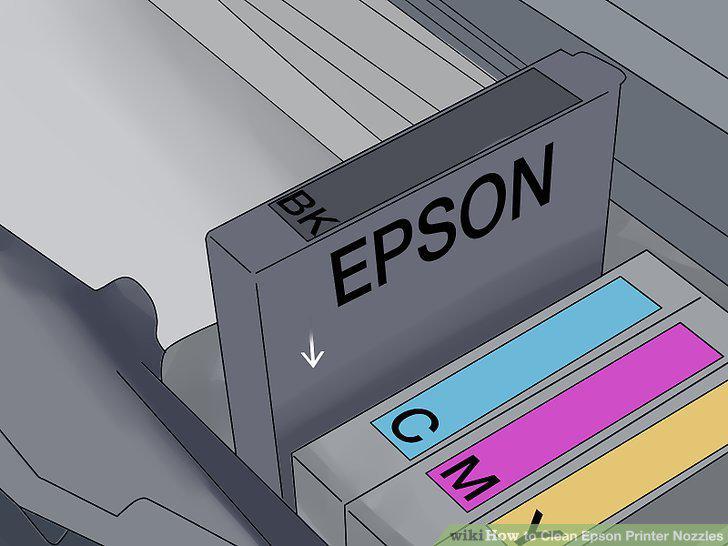
Replace the ink cartridges and turn the printer back on to test it.
Comments (0)
No comments yet. Be the first to share your thoughts!