How to Facetune a Video on iPhone or iPad
Open the Facetune 2 app on your iPhone or iPad.. Tap the camera icon on the top-left.. Select the camera tool you want to use at the bottom.
Steps
1
Open the Facetune 2 app on your iPhone or iPad.
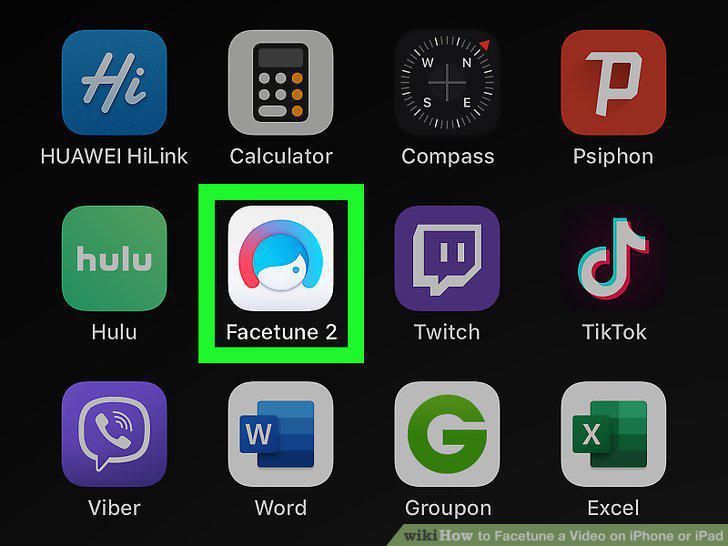
Open the Facetune 2 app on your iPhone or iPad.
2
Tap the camera icon on the top-left.

Tap the camera icon on the top-left.
3
Select the camera tool you want to use at the bottom.
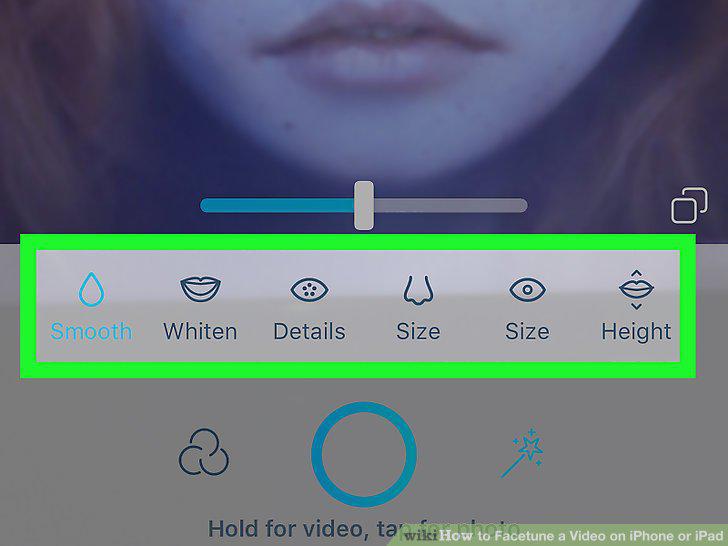
Select the camera tool you want to use at the bottom.
4
Drag the blue slider at the bottom to adjust the selected tool.
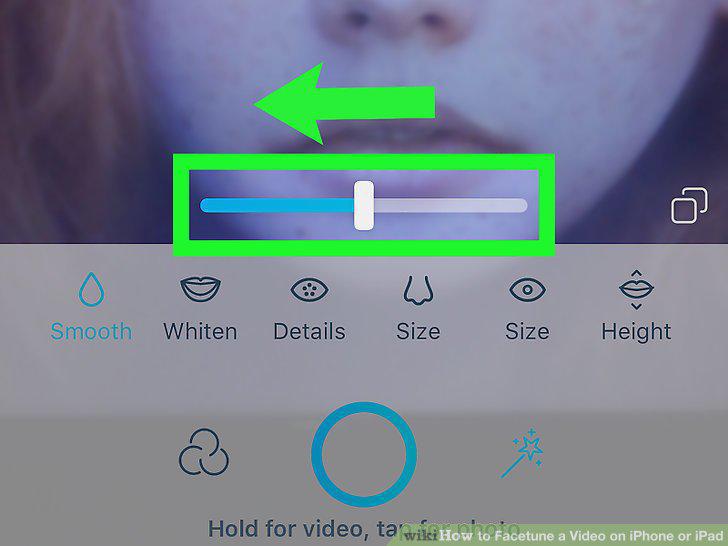
Drag the blue slider at the bottom to adjust the selected tool.
5
Tap the three-circles icon on the bottom-left.
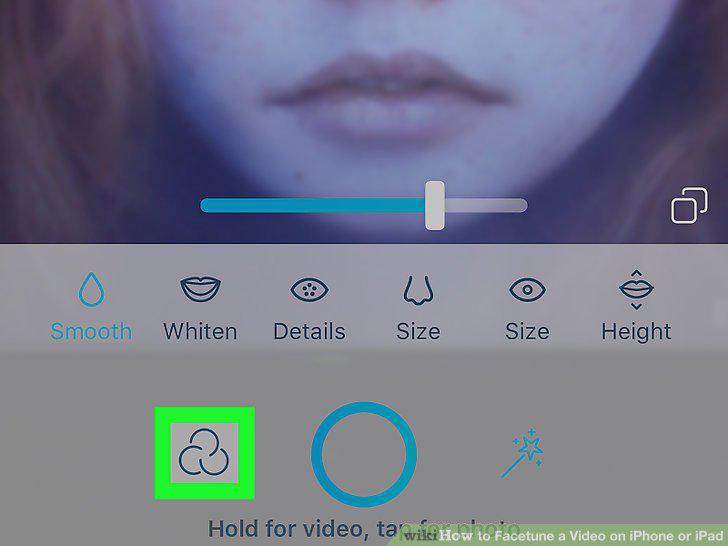
Tap the three-circles icon on the bottom-left.
6
Tap any filter to apply it to your camera.
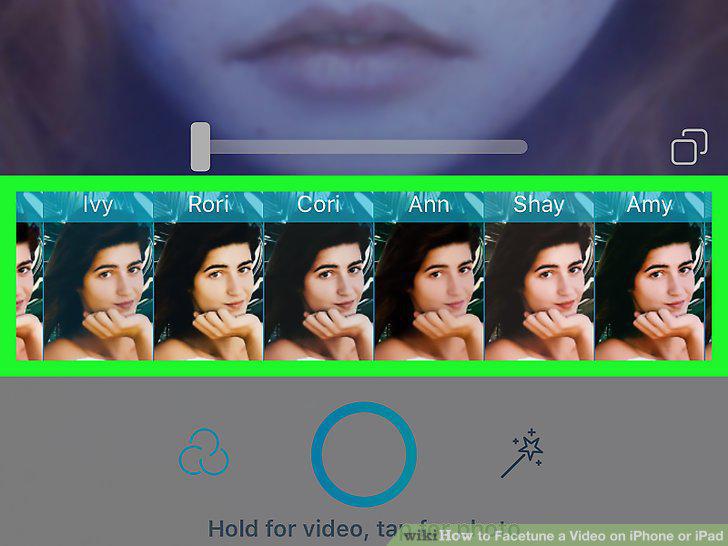
Tap any filter to apply it to your camera.
7
Drag the blue slider to adjust the filter level.
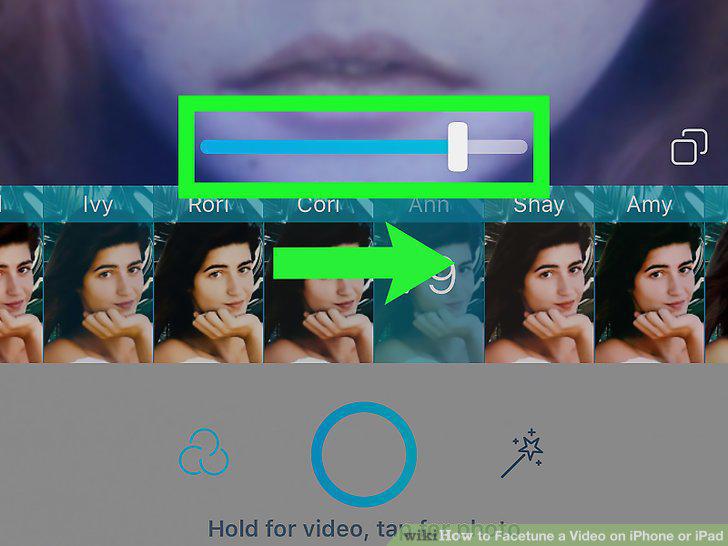
Drag the blue slider to adjust the filter level.
8
Press and hold the two-squares icon near the bottom-right (optional).
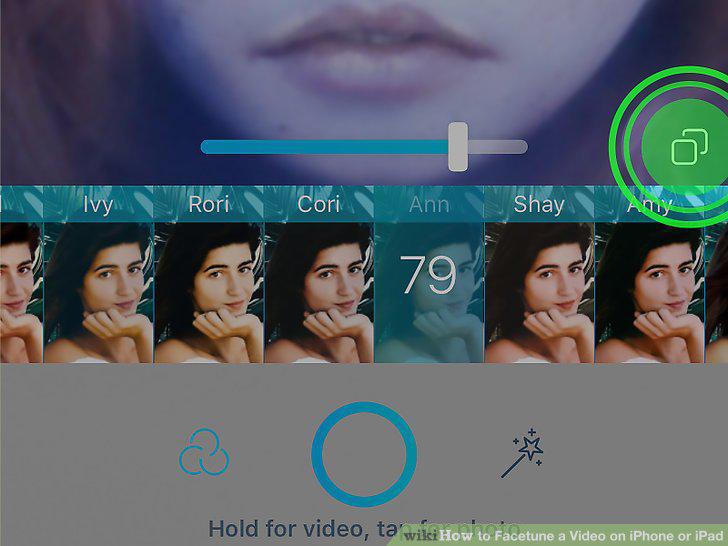
Press and hold the two-squares icon near the bottom-right (optional).
9
Press and hold the blue circle button at the bottom.
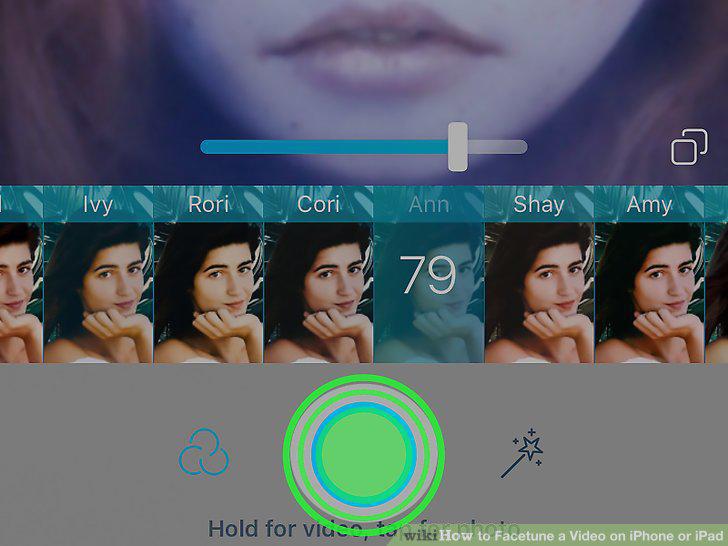
Press and hold the blue circle button at the bottom.
10
Tap Save on the bottom-right.
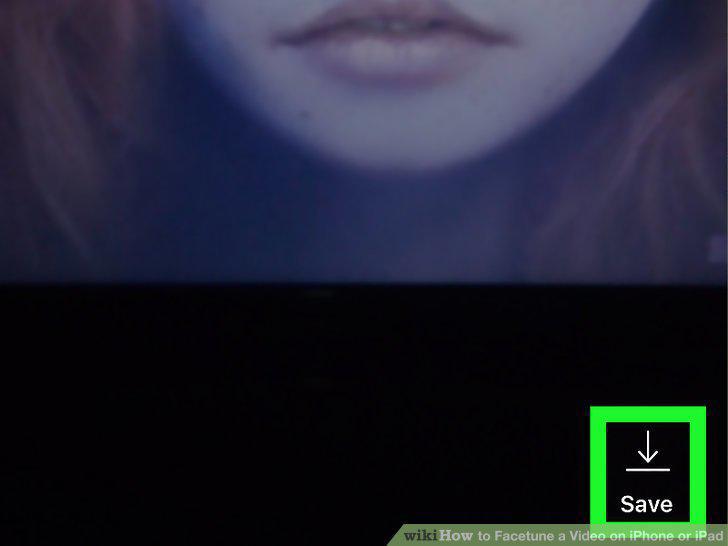
Tap Save on the bottom-right.
Comments (0)
No comments yet. Be the first to share your thoughts!