How to Make a Paper Robin Hood Hat
Choose a large sheet of green construction paper.. Fold the paper in half lengthwise.. Draw a curved line from the top right corner to the bottom left.
Steps
1
Choose a large sheet of green construction paper.
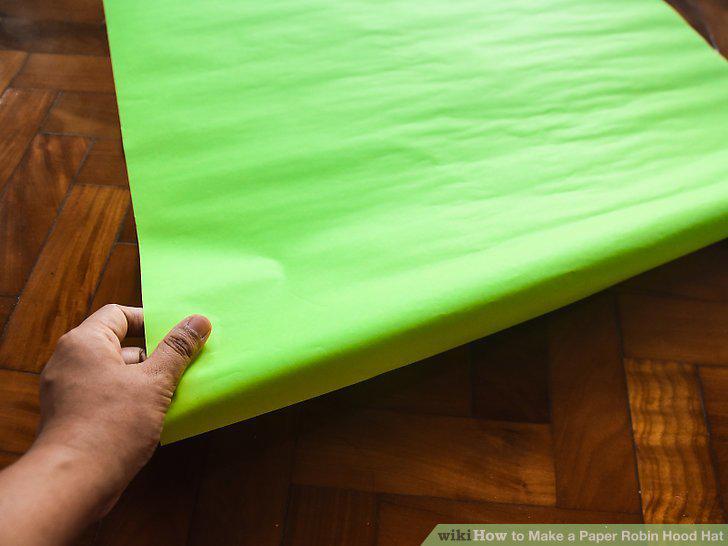
Choose a large sheet of green construction paper.
2
Fold the paper in half lengthwise.
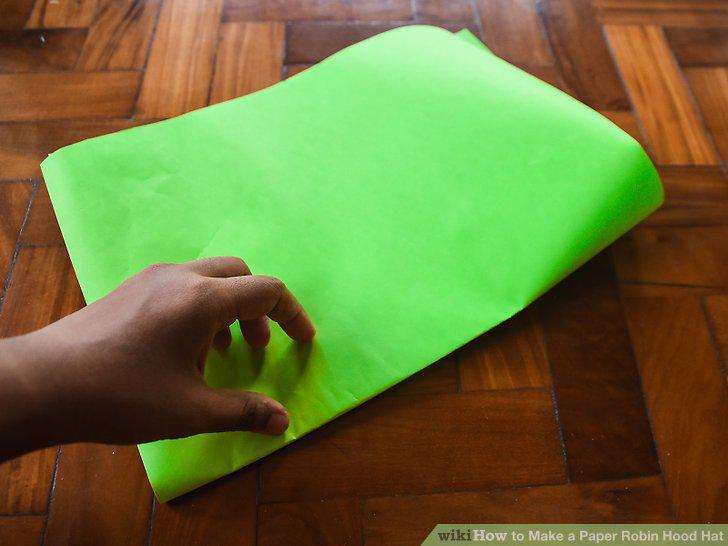
Fold the paper in half lengthwise.
3
Draw a curved line from the top right corner to the bottom left.
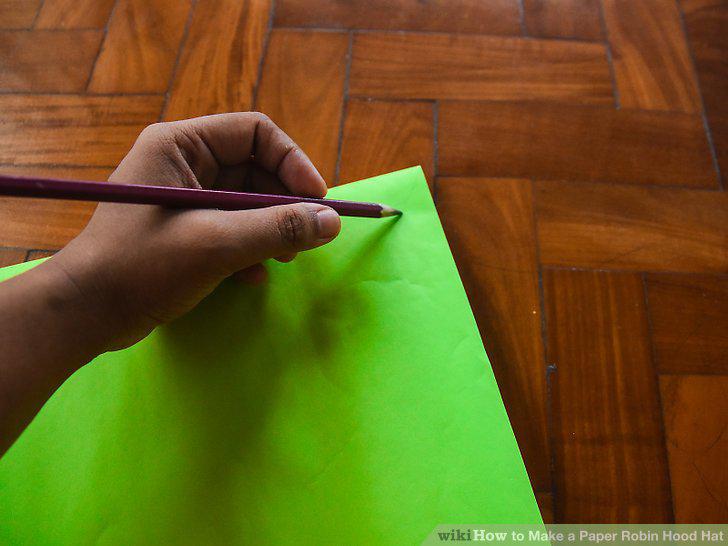
Draw a curved line from the top right corner to the bottom left.
4
Cut along the curved line.
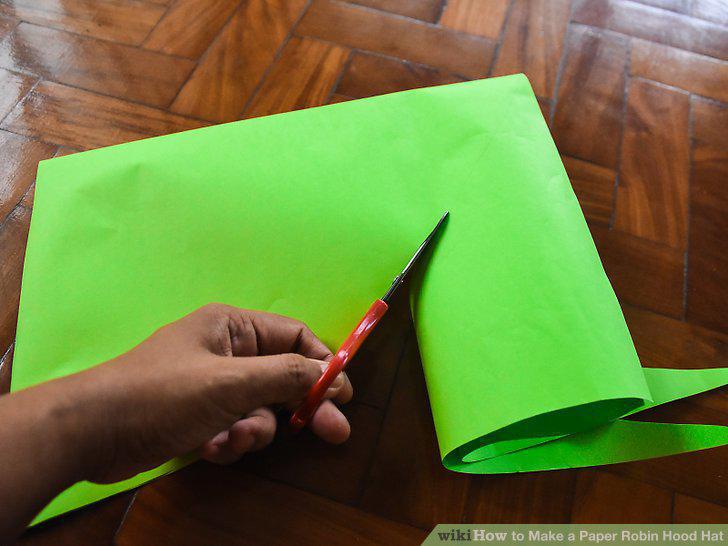
Cut along the curved line.
5
Fold up the curved edges to make the hat brim.
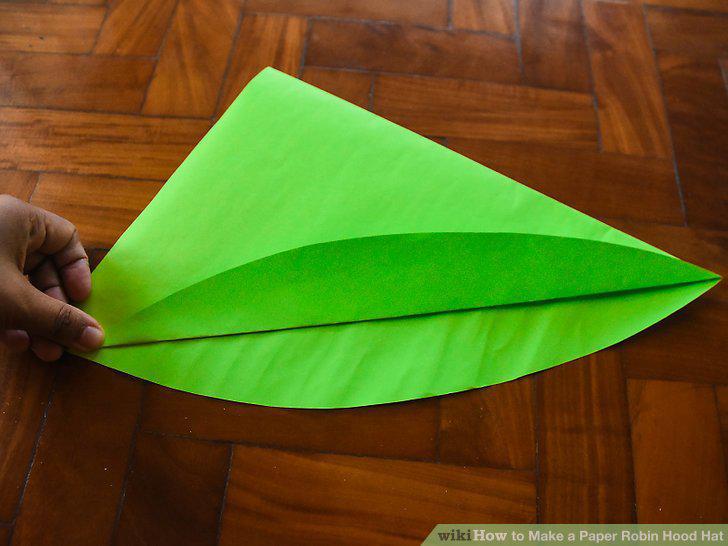
Fold up the curved edges to make the hat brim.
6
Tape or glue the back edges of the hat together.
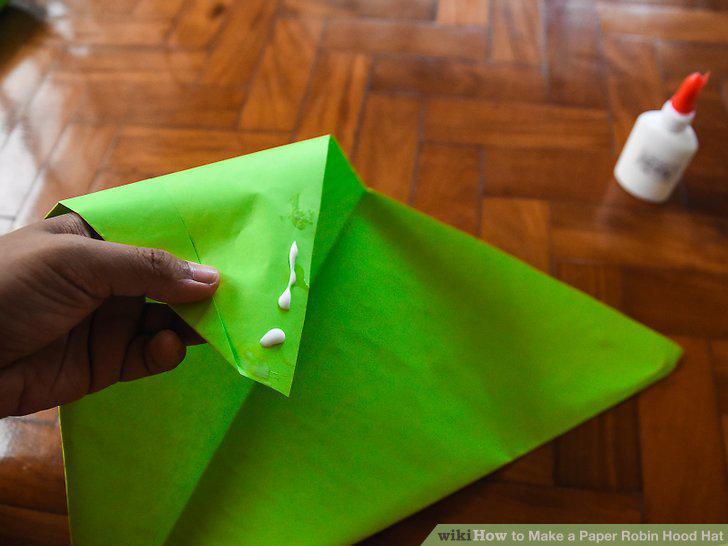
Tape or glue the back edges of the hat together.
7
Open up the bottom of the hat.
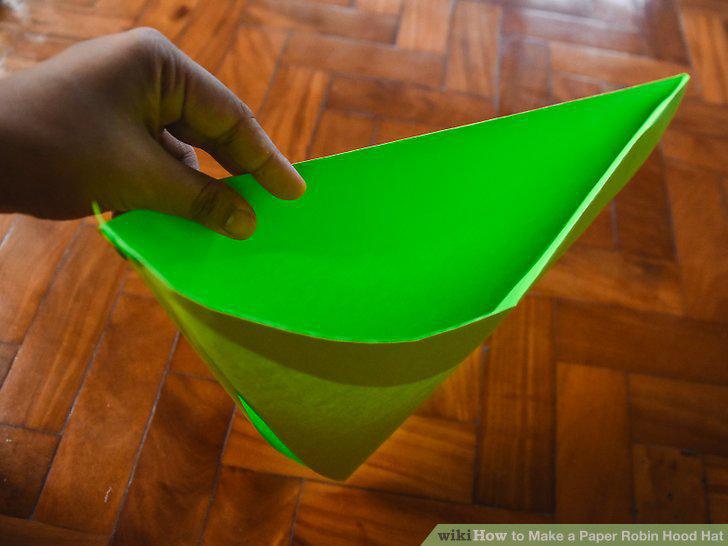
Open up the bottom of the hat.
8
Select a sheet of construction paper in a different color.
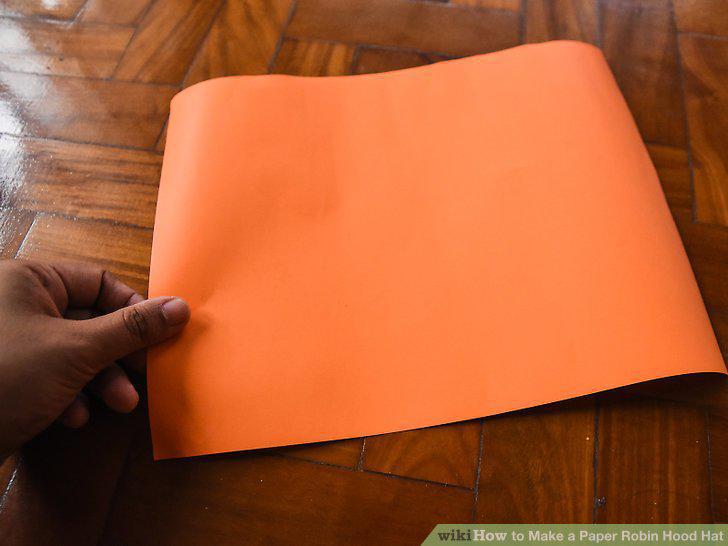
Select a sheet of construction paper in a different color.
9
Fold the paper in half lengthwise.
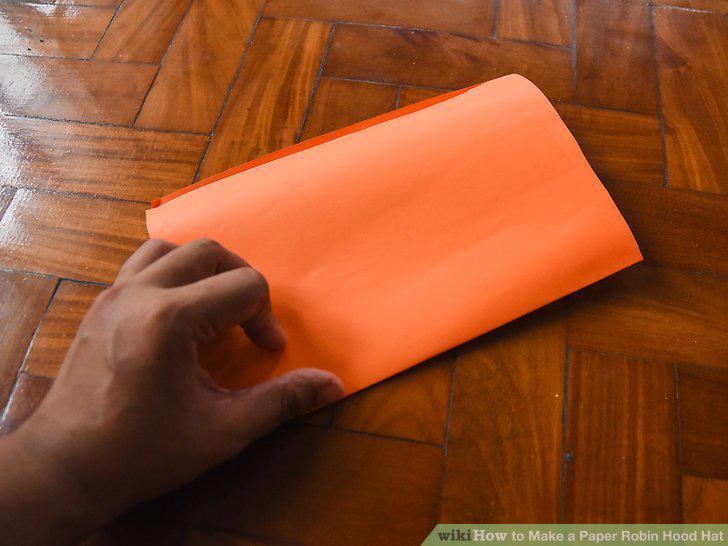
Fold the paper in half lengthwise.
10
Cut out a long curved shape for the feather's base.
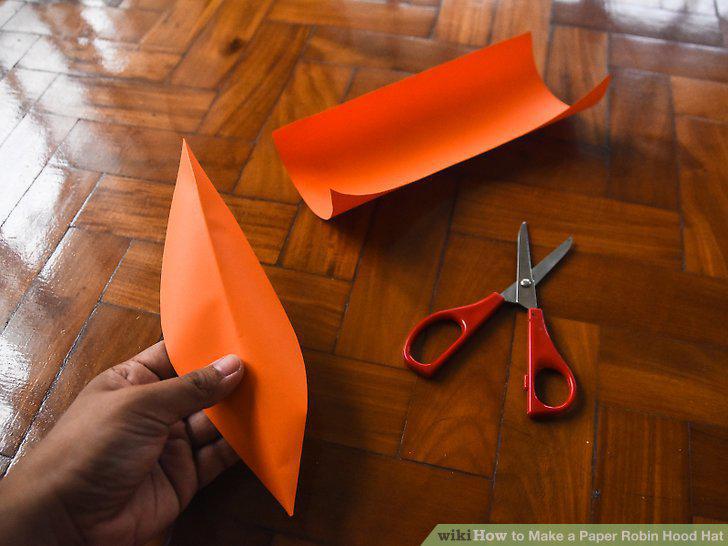
Cut out a long curved shape for the feather's base.
11
Cut a fringe along the outside curve.
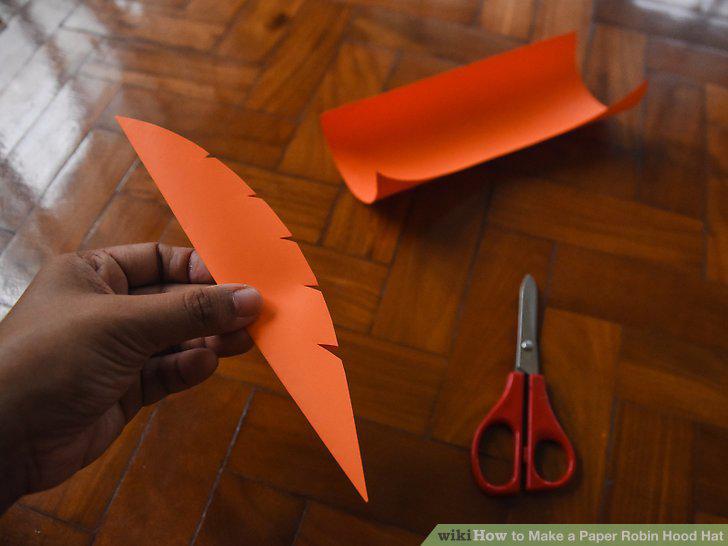
Cut a fringe along the outside curve.
12
Unfold the feather and place a little glue on the stem.
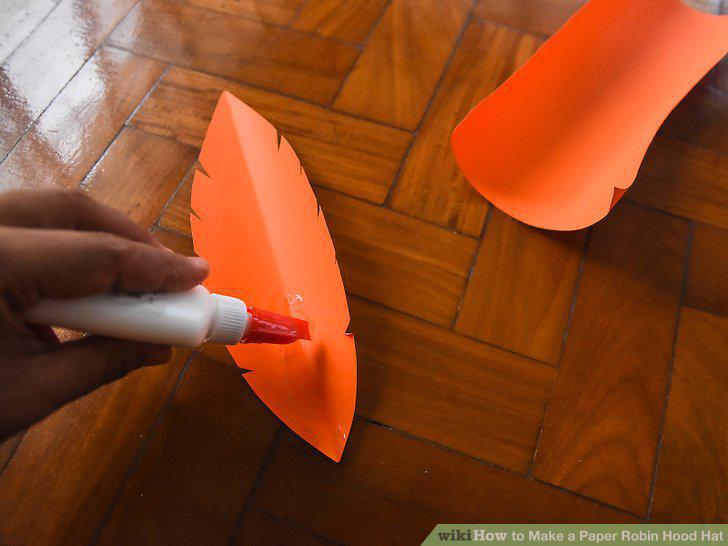
Unfold the feather and place a little glue on the stem.
13
Glue the finished feather inside the brim of the hat.
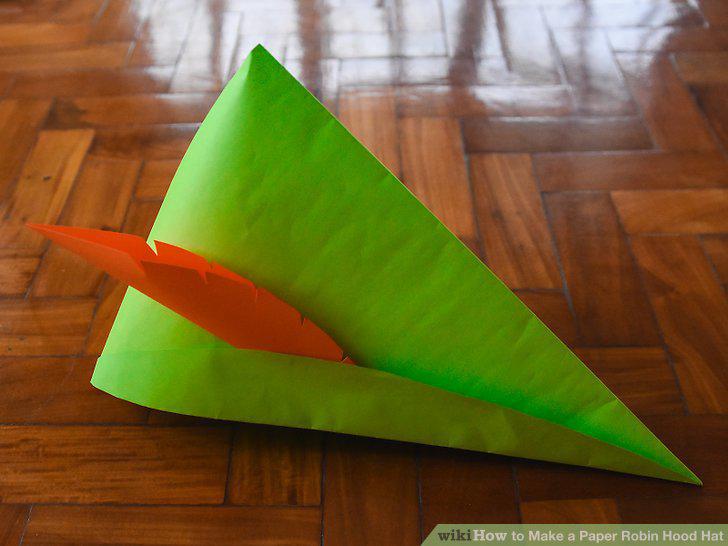
Glue the finished feather inside the brim of the hat.
Comments (0)
No comments yet. Be the first to share your thoughts!